")
")


Booting from a USB drive
- Details
- Parent Category: FAQ
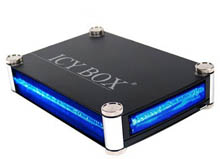 Modern Intel-based Macs can boot from USB, but you will encounter some difficulties when you try this method on a iBook G4 or PowerBook G4. When you buy a OSX Panther or Tiger license you'll get DVDs by default - this is a problem when you have to install 10.3 on a 300MHZ machine which has only a CD-Drive and no firewire port. But the Clamshell iBook is able to boot from USB if you've got the right drive:
Beep Codes at startup
- Details
- Parent Category: FAQ
If you hear several beeps instead of the startup-chime - this is an error code:
1 one beep: There is no RAM installed
2 Two beeps: a EDO-RAM module installed The iBooks only works with SDRAM SO-DIMMS.
3 Three beeps: The built-in RAM / The extra RAM module have errors.
4 Four beeps: Checksum error in the boot-ROM.
If after the start a dialog box appears with the message: "Built-in memory test has detected an error"
try to remove the RAM in the slot located underneath the keyboard and restart. A "default catch!" Error and a boot into open firmware is caused by an incompatible RAM-Module.
Apple Hardware Test
- Details
- Parent Category: FAQ
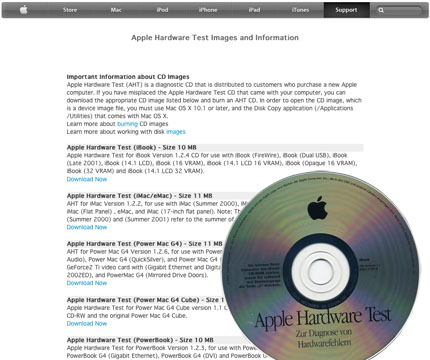
An important tool for hardware problems is the Apple hardware test CD. Unfortunately the test for iBook models 300Mhz and 366Mhz without Firewire is not available.
Since the test CD supports only certain models, one should pay attention for to the correct revision number. iBook hardware test CDs with the numbers 1.0 to 1.2.4 should function on the 366Mhz and 466Mhz Firewire models. If one wants to go safe, one selects the extended test routines with continuous loops.
Some RAM errors are identified after some dozen runs. A free Download from Apple (Wayback machine) of the hardware test for older Macs is available. You can also look for a original CD at ebay.com or contact an authorized Apple dealer who has access to these resources.
Airport alternative: Wireless Ethernet Bridge
- Details
- Parent Category: FAQ

If you don't own a original Airport Card or you don't want to block your single USB port with a WLAN Stick, there is still an alternative: A Wireless Ethernet Bridge, which is connected to the standard ethernet port of your iBook. The device is driverless and configured via browser-interface. For example the Belkin Wireless G Gaming Apapter F5D7330 which was constructed for XBox or other Gaming devices and supports 802.11g standard up to 54Mbps.